

This documentation provides step-by-step instructions for customizing your homepage, including replacing the logo, editing menu items, adding new navigation elements, and changing menu text colors. Follow these steps to make the desired changes.
Step-by-Step Instructions
Access the Editor
- Log in to your platform’s admin dashboard.
- In the left-hand menu, click on Appearance.
- From the submenu, select Editor. This will open the editing interface for your homepage.
Replace the Logo

- In the editor, locate and click on the Menu section of the homepage.
- Click on the Logo Icon within the menu. This will open the logo customization options.
- To replace the logo:
- Click Upload to add a new logo from your device.
- Alternatively, select an existing image from the Media Library.
- After uploading, resize the logo as needed using the provided resizing tools.
- Click Save to apply the changes.
Edit Menu Items
Click on any Menu Item in the editor. This will select the item and display a right sidebar with customization options.
In the right sidebar:
- Change the Menu Name by editing the text field.
- Update the Link by entering a new URL.
To add a new menu item:
- Click the Plus Icon (+) within the menu section.
- Select Custom Link.
- Enter the Menu Name and Link in the provided fields.
Reorganize or Delete Navigation Elements
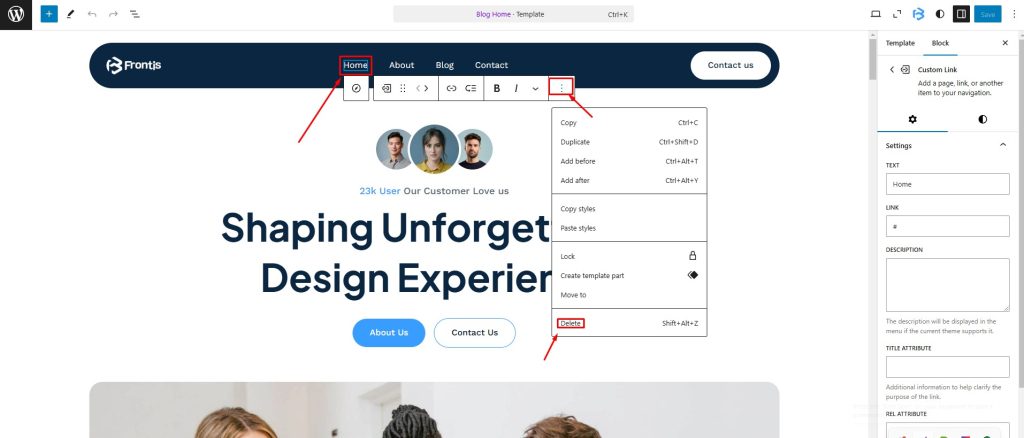
- To expand all elements, click on Documentation Overview in the editor.
- Locate the Navigation section.
- To delete a navigation element:
- Click the Three-Dot Menu (⋮) next to the element.
- Select Delete.
To add a new navigation menu:
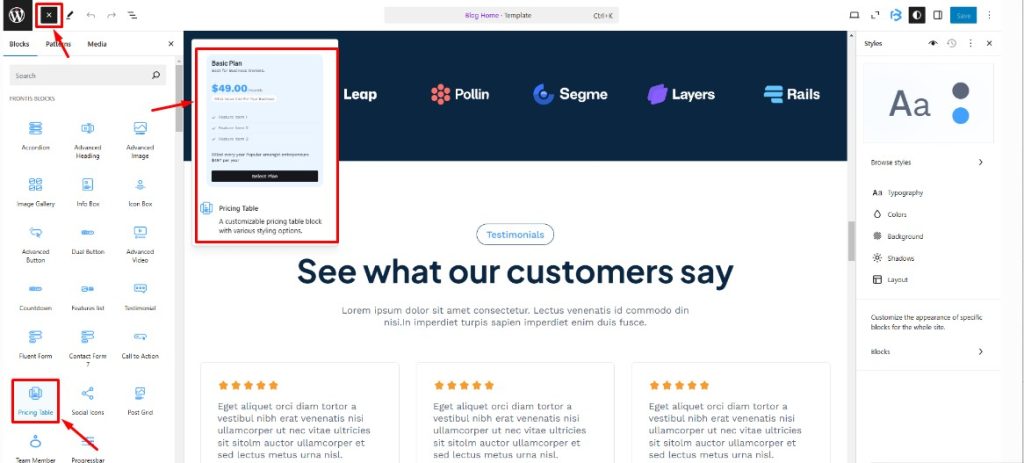
- Click the Plus Icon (+) where you want to add the menu.
- Search for Navigation in the elements list.
- Drag and drop the Navigation element into the desired location.
- Manually add menu items to the new navigation element as needed.
Change Menu Text Color
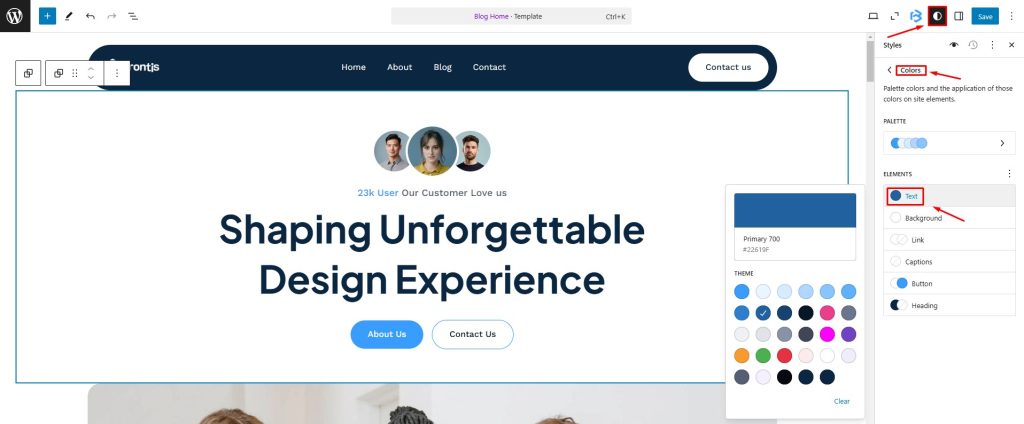
- Click on the Menu Text you want to customize.
- In the right sidebar, click on the Style option.
- Locate the Text Color or Background Color settings.
- Choose a new color from the color picker or enter a hex code.
- Click Save to apply the changes.
Change Heading Color
- To change the heading color, go to the editor and click on the heading section.
- Hover your mouse to the left corner of the heading section and ensure that the heading border appears to you.
- Click on the settings icon at the top of the right side, scroll down a little, and click on the styles icon.
- Go to the background, select a color, and Click Save to apply the changes.
